How To Install
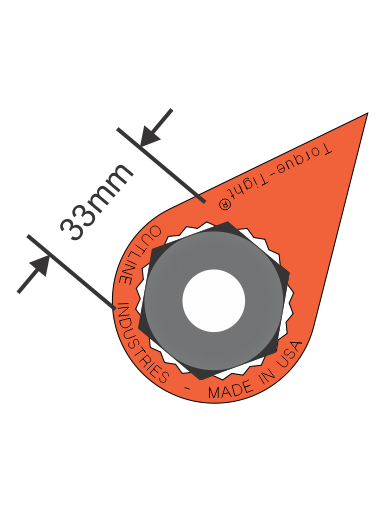
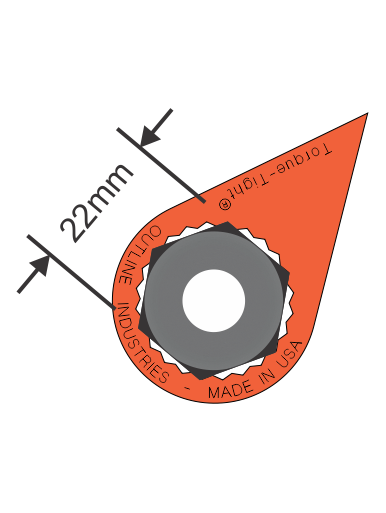
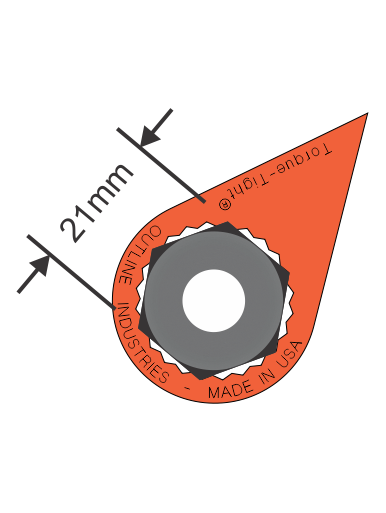
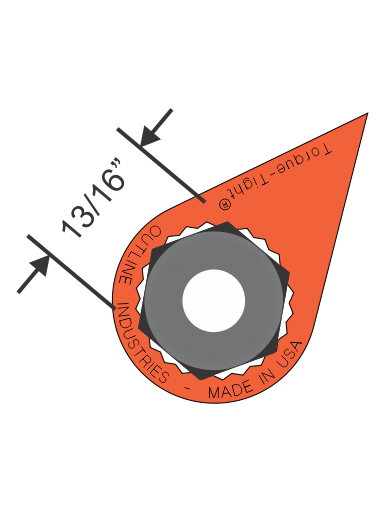
The installation of Torque-Tight lug nut indicators is a rather simple process. With the proper tools and a few minutes of your time, you will be up and running a safer rig!
 |
Step 1: Torque lug nuts to specified FT/LBS. Be sure to use a high quality torque wrench, and remember; you must release the pressure in your torque wrench to maintain proper calibration.
|
|
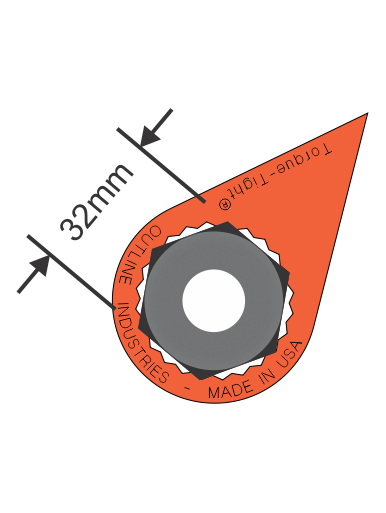
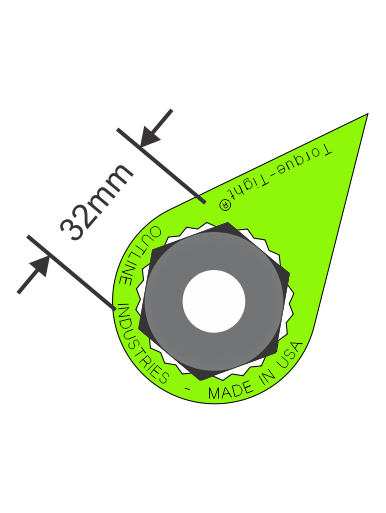
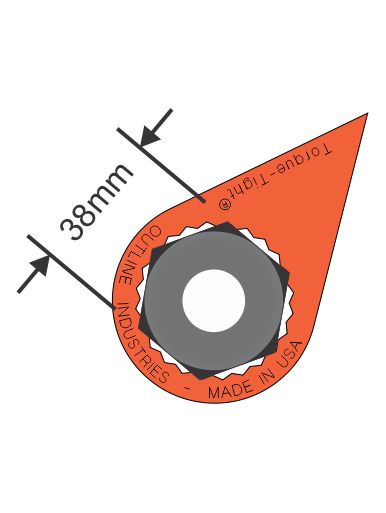
Step 2: Place your Torque-Tight™ lug nut indicator facing the next nut. You always want the indicator to rotate to the outside rather than in, this allows for a larger visual pattern should a lug nut come loose. Remember; Lefty Loosey, Righty Tighty. |

|
|

|
Step 3: Press the indicator on the nut, and rest assured that you now have a great visual aid for your walk-around. |
|
TIP: Using a socket to press the lug nut indicator on is much easier on your fingers. |
 |
|
Best Sellers
-
Regular price From $12.00 USDRegular price
-
Regular price From $12.00 USDRegular price
-
Regular price From $12.00 USDRegular price
-
Regular price From $12.00 USDRegular price
-
Regular price From $12.00 USDRegular price
-
Regular price From $12.00 USDRegular price
-
Skid-Stopper Trailer Wheel Skid Indicators with M22x1.5 Jam Nuts
Regular price From $29.00 USDRegular price
